Step up your coding game with AI-powered Code Explainer. Get insights like never before!
Many online sites can only be accessed if we register into their systems. Luckily, Django can let us build that authentication system for our apps. In this article, we will create a registration page for new users and login and logout pages for existing users.
The main reason for authenticating users is to restrict content. Authentication ensures that only authorized users have access to a system by preventing unauthorized users from accessing and potentially damaging systems, stealing information or causing other issues.
Table of content:
- Pre-requisites
- Setting up the Environment
- Starting the Django Project
- Creating the Django App
- Configuring the App
- Django Admin Interface
- Making Templates
- Conclusion
Pre-requisites
- Django
- Python 3
I'll be using Ubuntu in this tutorial, but you can use any environment you want.
Setting up the Environment
We need to set up a virtual environment first. Creating projects in a segregated environment is always a good practice to avoid interfering with other virtual environments or system-installed Python.
We will create a new directory where our app will be stored. Let's call it new_project.
$ mkdir new_project
$ cd new_project
We will then create a virtual environment in the new_project. We will use a Python installer pip to install virtualenv, which is a tool for creating isolated virtual Python environments.
$ pip install virtualenvLet's call our new virtual "venv".
$ virtualenv venvTo activate it:
$ source venv/bin/activate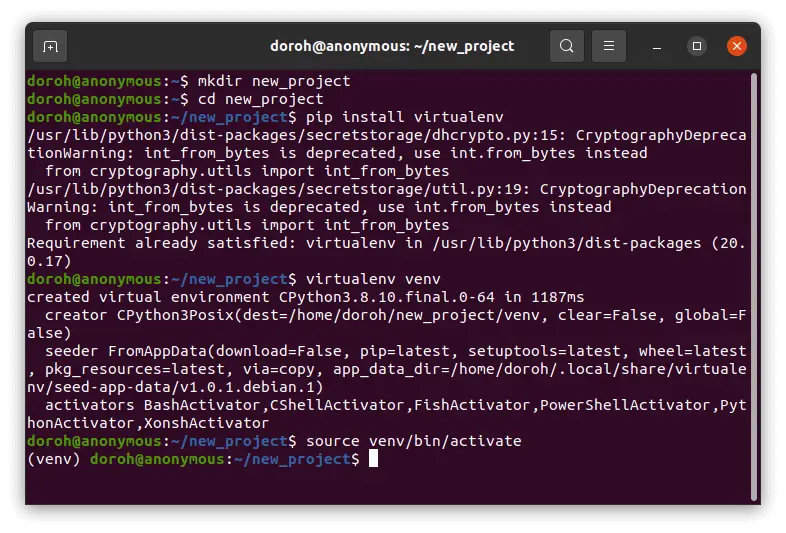
Starting the Django Project
First, let's make sure that we have Django installed:
$ pip install DjangoWe will then use django-admin tool to generate a project folder. Let's call the project accounts:
$ django-admin startproject accountsThe basic structure for our project so far looks like this:
├── accounts
│   ├── asgi.py
│   ├── __init__.py
│   ├── settings.py
    │   ├── urls.py
│   └── wsgi.py
└── manage.py
The above files are:
manage.py- a command-line utility that gives various options for interacting with this Django project.settings.py- This file contains all the website settings. Here, you can register applications you create, configure databases, etc.urls.py- This file stores all links to the project. Simply said, this file instructs Django that if a user enters this URL, they should be directed to the specified website or view.
Let's now run migrations. Let's change the directory to where the manage.py file is:
$ cd accountsThe makemigrations command looks through all of your available models and creates migrations for any tables that do not yet exist. The migrate command executes all unapplied migrations against your database, essentially synchronizing your model changes with the database schema. To carry out migrations:
$ python manage.py makemigrations
$ python manage.py migrate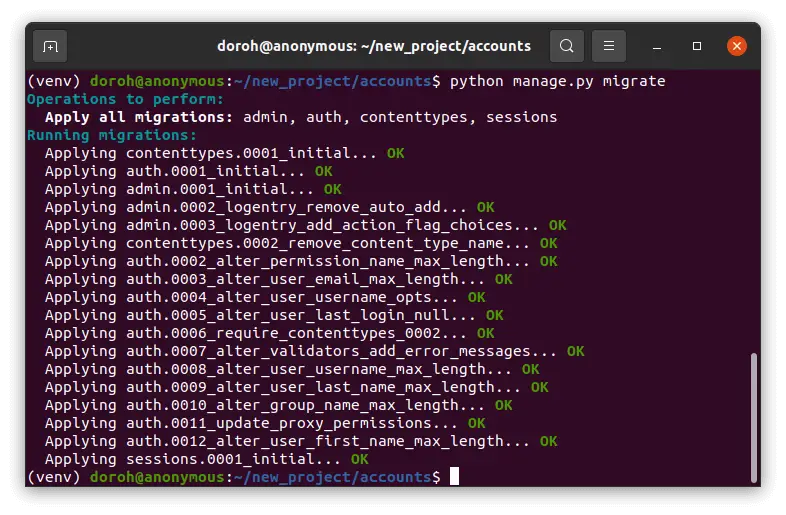
We will then run the server:
$ python manage.py runserver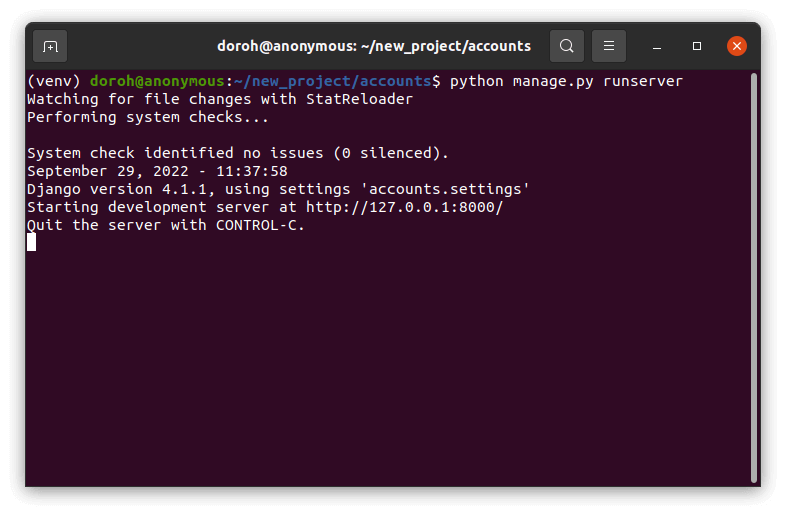
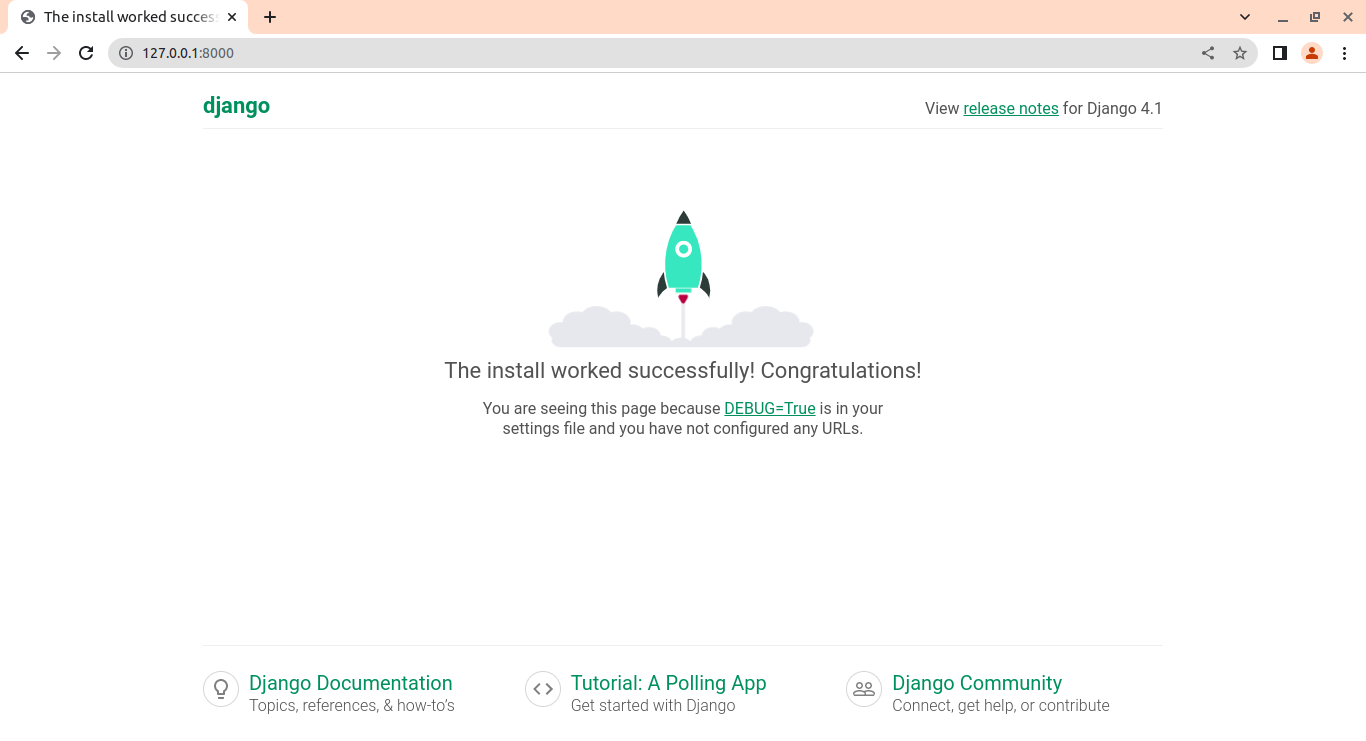
The development server is live at http://127.0.0.1:8000/. Visit the link to open the server in the browser.
Creating the Django App
A Django project can have many apps under it. Let's create an app, and call it "account".
$ python manage.py startapp accountThe app structure looks like this:
.
├── admin.py
├── apps.py
├── __init__.py
├── migrations
│   └── __init__.py
├── models.py
├── tests.py
└── views.py
models.pyfile contains the most important fields and behaviors of the data you're storing.admin.pyis where you register the models in your app with the Django admin application.views.pyfile contains Python functions that take HTTP requests and return HTTP responses, like HTML documents.
Configuring the App
We then configure the app by including it in the INSTALLED_APPS list in settings.py.
INSTALLED_APPS = [
    'django.contrib.admin',
    'django.contrib.auth',
    'django.contrib.contenttypes',
    'django.contrib.sessions',
    'django.contrib.messages',
    'django.contrib.staticfiles',
    'account' # our account app
]
Django Admin Interface
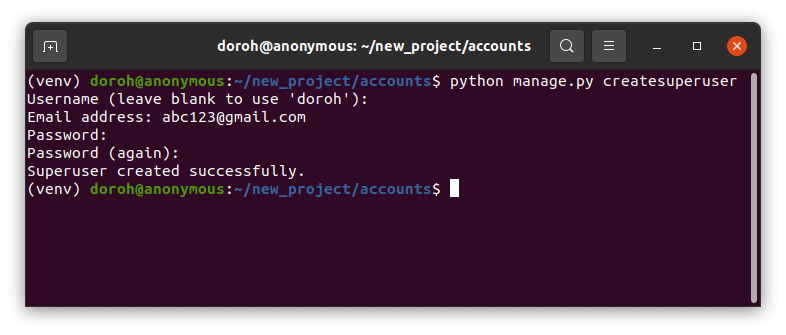
Django lets us perform create, read, update and delete operations on the models directly through its admin interface. To access the interface, we have to create a user who can log in to the admin site, called a superuser:
$ python manage.py createsuperuserFollow the prompts asked, and create a superuser:
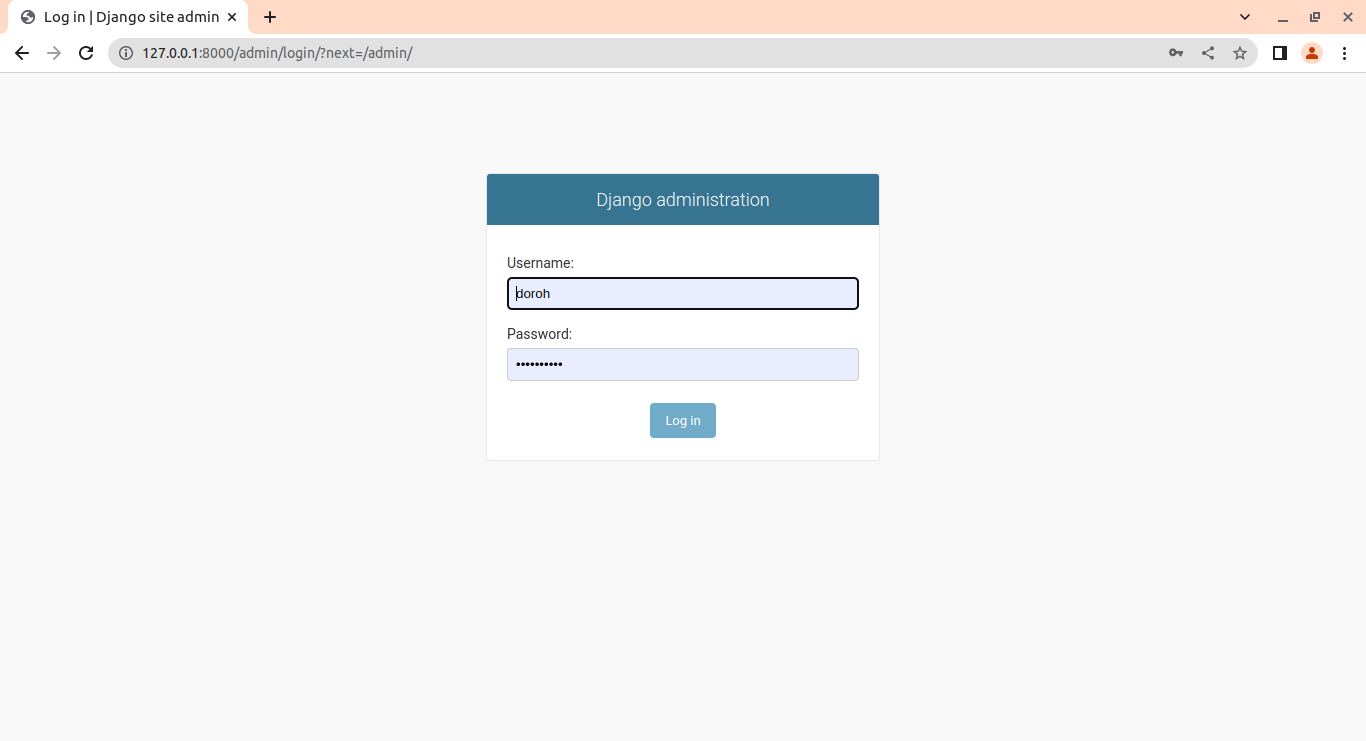
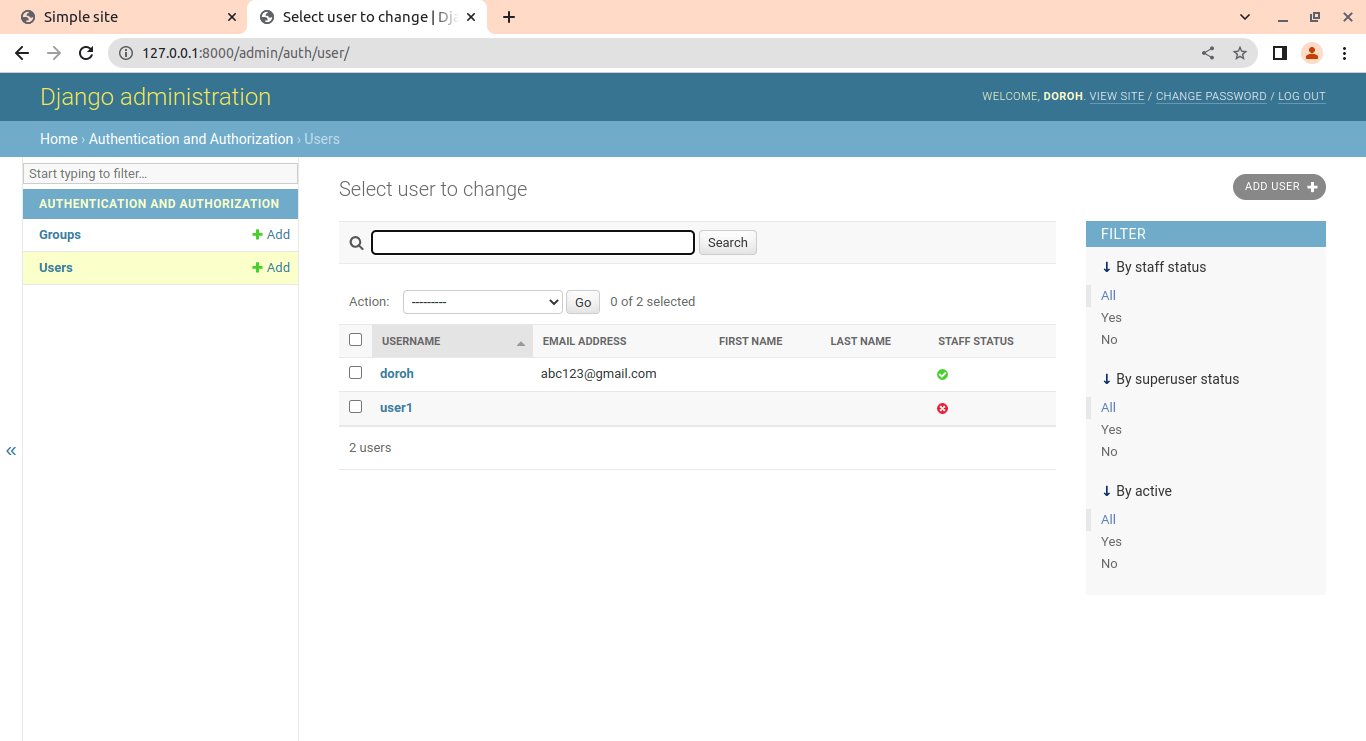
To access the admin site, enter http://127.0.0.1:8000/admin in the browser. Input username and password and log in:
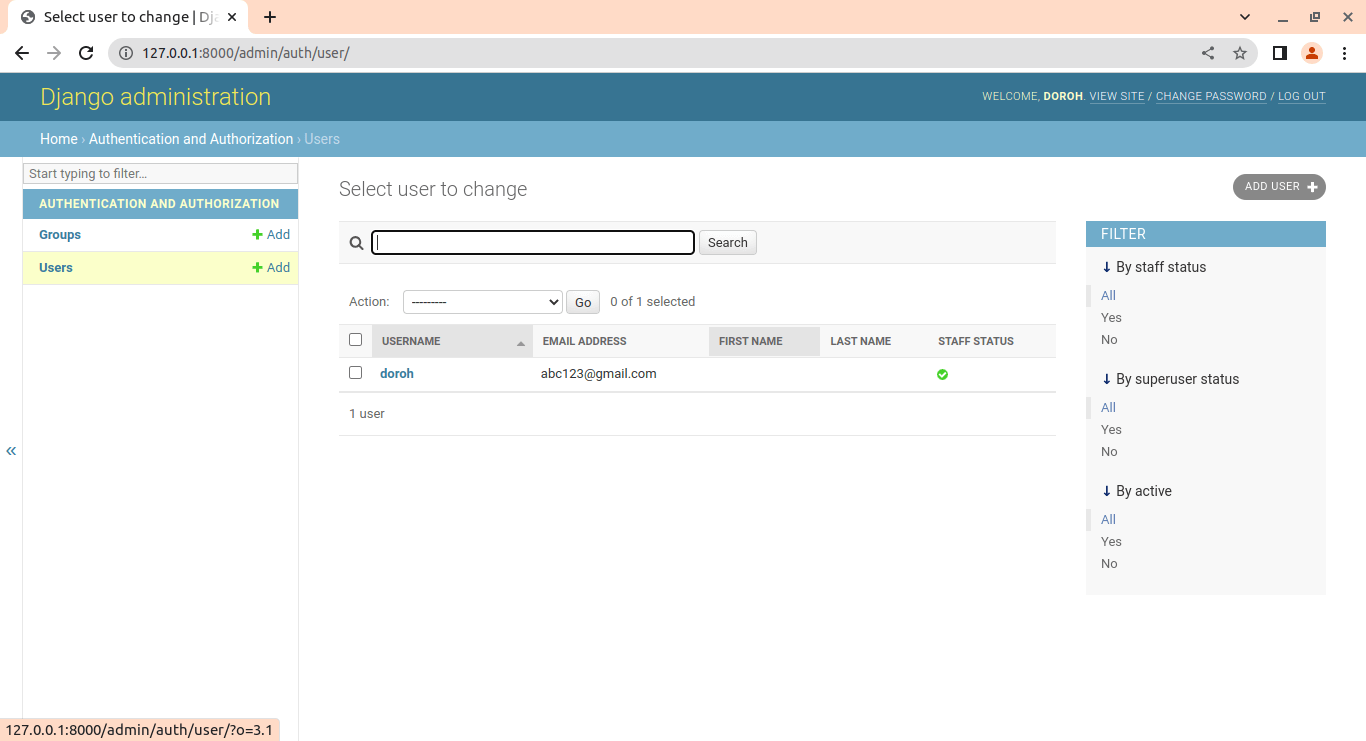
So far, we have one user:
Making the Templates
We will create a folder called Templates in the root directory:
.
├── db.sqlite3
├── manage.py
├── accounts
├── Templates
└── account
This will hold our HTML, CSS, and Javascript files. We configure settings.py to include our Templates folder:
TEMPLATES = [
    {
        'BACKEND': 'django.template.backends.django.DjangoTemplates',
        'DIRS': [BASE_DIR/'Templates'], #here
        'APP_DIRS': True,
        'OPTIONS': {
            'context_processors': [
                'django.template.context_processors.debug',
                'django.template.context_processors.request',
                'django.contrib.auth.context_processors.auth',
                'django.contrib.messages.context_processors.messages',
            ],
        },
    },
]
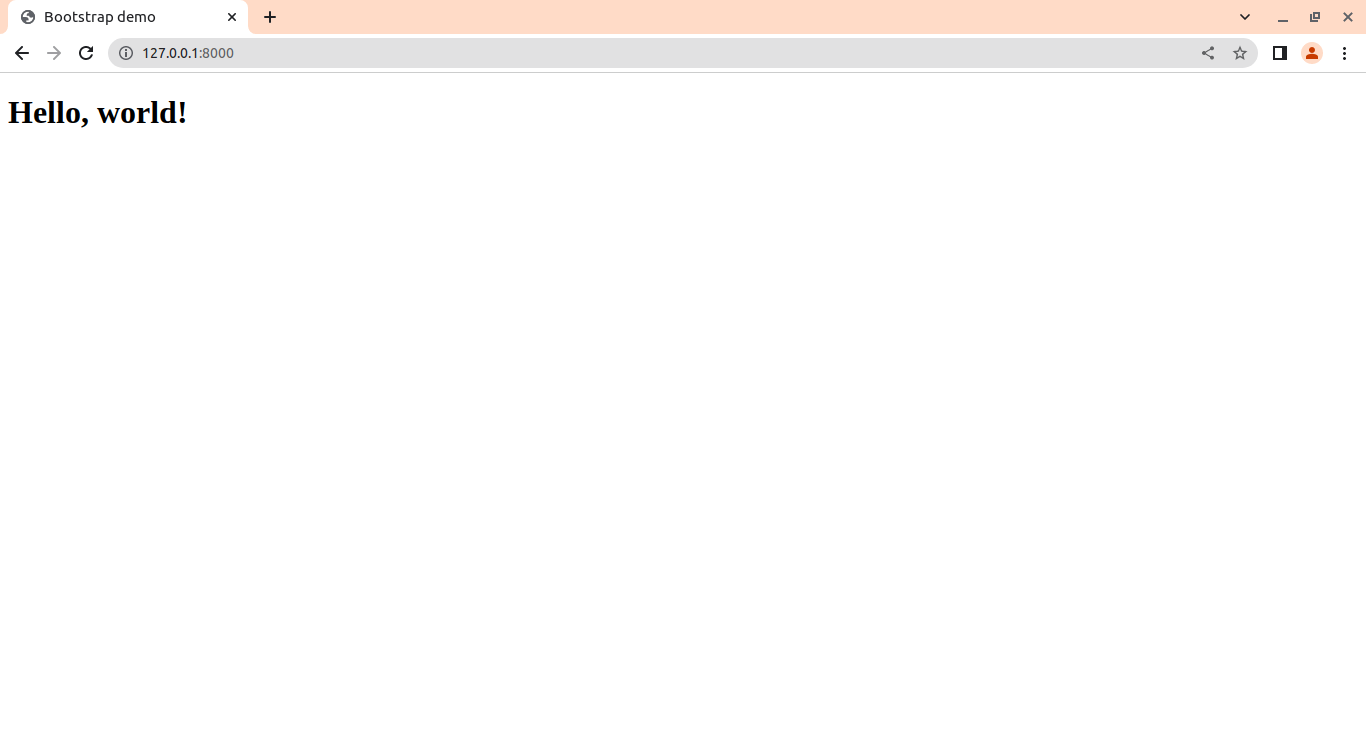
Let's create a simple homepage where users will be redirected when they log in. We will use the Bootstrap framework, which is the most popular CSS framework for creating responsive and mobile-first websites.
We will create a simple template. In the Templates folder, create a new file called home.html:
<!doctype html>
<html lang="en">
  <head>
    <meta charset="utf-8">
    <meta name="viewport" content="width=device-width, initial-scale=1">
    <title>Bootstrap demo</title>
  </head>
  <body>
    <h1>Hello, world!</h1>
  </body>
</html>
We then create views of the homepage. A view function, abbreviated as view, is a Python function that accepts a web request and returns a web response. In views.py,
from django.shortcuts import render

# Create your views here.
def home(request):
    return render(request,'home.html')
Every Internet page requires its URL. This way, your application knows what to display to a user who visits that URL. URLconf is a concept used in Django (URL configuration) that is a collection of patterns that Django will try to match with the requested URL to find the correct view.
In urls.py, add the following code:
from django.contrib import admin
from django.urls import path
from account import views #here

urlpatterns = [
    path('admin/', admin.site.urls),
    path('home/', views.home, name='home'), #here
]
Great, we have a homepage. Running the server:
We should then create a template that can be inherited by other templates. Let's call it base.html:
<!doctype html>
<html lang="en">
  <head>
    <!-- Required meta tags -->
    <meta charset="utf-8">
    <meta name="viewport" content="width=device-width, initial-scale=1">
    <!-- Bootstrap CSS -->
    <link href="https://cdn.jsdelivr.net/npm/bootstrap@5.0.2/dist/css/bootstrap.min.css" rel="stylesheet" integrity="sha384-EVSTQN3/azprG1Anm3QDgpJLIm9Nao0Yz1ztcQTwFspd3yD65VohhpuuCOmLASjC" crossorigin="anonymous">
  <title>{% block title %} Simple site {% endblock %}</title>
  </head>
  <body>
    {% block body %}
    <header class = "header fixed-top">
      <nav class="navbar navbar-expand-lg navbar-light bg-light">
          <div class="container-fluid">
          <button class="navbar-toggler" type="button" data-bs-toggle="collapse" data-bs-target="#navbarNav" aria-controls="navbarNav" aria-expanded="true" aria-label="Toggle navigation">
            <span class="navbar-toggler-icon"></span>
          </button>
          <div class="collapse navbar-collapse" id="navbarResponsive">
          {% if user.is_authenticated %}
            <ul class="navbar-nav ms-auto">
              <li class="nav-item active">
                  <li class="nav-item">
                      <a class="nav-item nav-link dropdown-toggle mr-md-2" href="#" id="userMenu" data-toggle="dropdown" aria-haspopup="true" aria-expanded="false">{{user.username}}</a>
                  </li>
                  <li class="nav-item">
                        <a class="btn btn-primary ml-auto"href="#">Log out<span class="sr-only"></span></a>
                  </li>
                </ul>
              </div>
            </div>
          {% else %}
          <button type="button" class="navbar-toggler"
          data-toggle="collapse" data-target="#mainMenu" aria-controls="mainMenu" aria-expanded="false" aria-haspopup="true" aria-label="Toggle navigation">
        <span class="navbar-toggler-icon"></span> </button>
          <form class="form-inline ms-auto" >
            <a href="#" class="btn btn-secondary" color="white">Log in</a>
            <a href="#" class = "btn btn-primary ml-3">Sign up</a>
          </form>
          {% endif %}
  </nav>
</header>
  <div class="container">
  {% block content %}{% endblock %}
  </div>
  {% endblock body %}
    <script src="https://cdn.jsdelivr.net/npm/bootstrap@5.0.2/dist/js/bootstrap.bundle.min.js" integrity="sha384-MrcW6ZMFYlzcLA8Nl+NtUVF0sA7MsXsP1UyJoMp4YLEuNSfAP+JcXn/tWtIaxVXM" crossorigin="anonymous"></script>
  </body>
</html>
We want our site to have a navbar. The navbar should have a log-out button if a user is authenticated (logged in). Their name will be displayed on another button, next to the log-out button. However, if a user has not yet logged in, then they can access two buttons, signup, and login buttons.
A block is used to override specific template elements. This means that a content block is overridden by children who inherit from this template. This can be accomplished by using the extends keyword in child templates. Everything inside {% block body %} and {% endblock body %} will appear in all the templates that will inherit the base template.
We should then extend the contents of the base template to other templates by using the {% block content %} attribute.
Let's rewrite home.html to inherit the base template:
{% extends 'base.html'%}

{% block content%}

<div class="container mt-5">
  <h3>Hello {{user}}</h3>
  <h2>This is a simple site </h2>
</div>
{% endblock %}

Since we are the superuser and we have logged in in the admin interface, it has our username displayed.
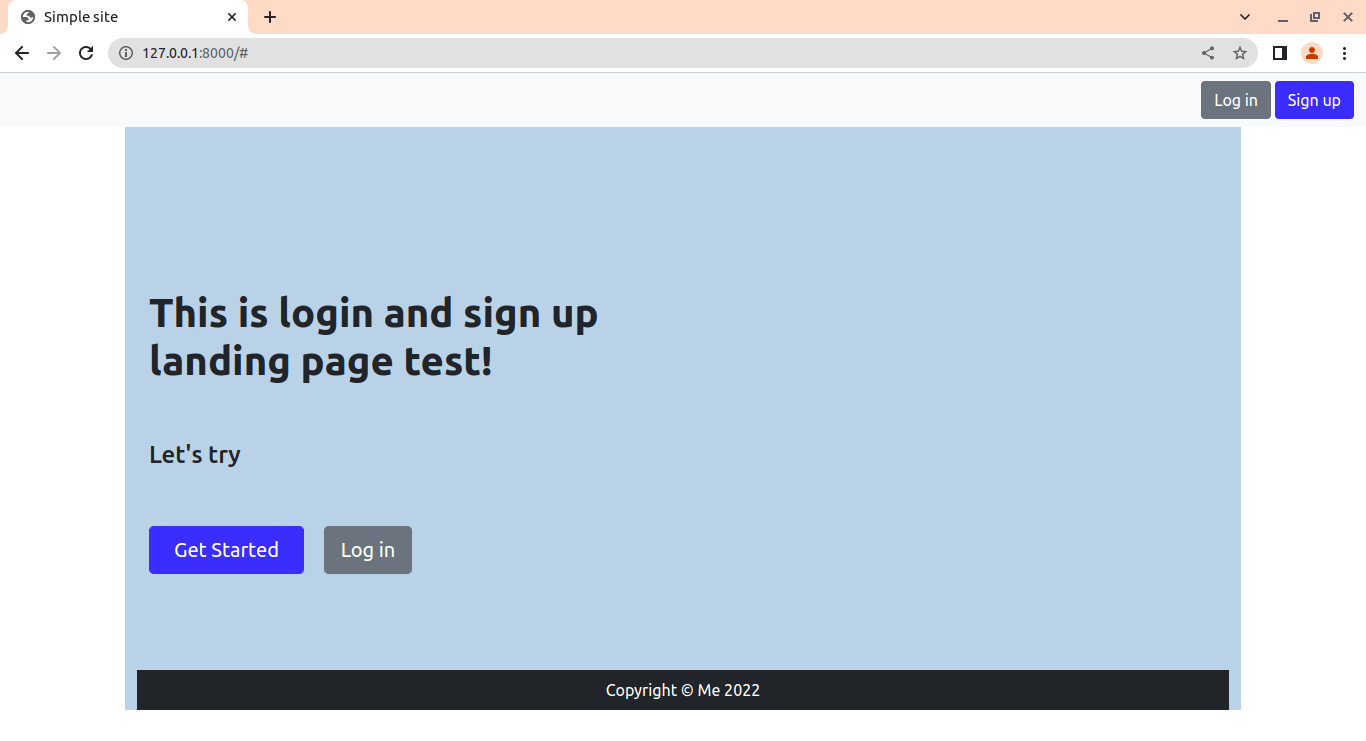
Let's now create a simple landing page that will be accessed by everybody. In the Templates folder, create a new file named landing_page.html:
{% extends 'base.html'%}
{% block content%}
<div class="container mt-5" style="background-color:#BCD4E6;">
<section class=" d-flex align-items-center" >
<div class=" mb-5 container">
<div class="row">
<div class="" style = "height:120px;">
</div>
<div class="mt-5 col-lg-6 d-flex flex-column justify-content-center" >
<h1 ><b>This is login and sign up landing page test!</b></h1>
<h4 class="mt-5" >Let's try </h4>
<div >
<div class="mt-5 text-center text-lg-start">
<a href="#" class="btn-get-started scrollto d-inline-flex align-items-center justify-content-center align-self-center">
<a class="btn btn-primary btn-lg px-4 me-sm-3" href="#" >Get Started</a>
<a class="btn btn-secondary btn-lg" href="#" >Log in</a>
</a>
</div>
</div>
</div>
</div>
</div>
</section>
<!-- Footer-->
<footer class=" container py-2 mt-5 bg-dark">
<div class="container px-5 "><p class="m-0 text-center text-white">Copyright © Me 2022</p></div>
</footer>
</div>
{% endblock%}Let's create its views next. In views.py:
def landing_page(request):
    return render(request,'landing_page.html')
We then link the views to the URLs. In urls.py:
path('', views.landing_page, name='landing_page'),Our landing page looks like this:
The Signup Page
Let's now make a signup page that lets users enter their details. First, let's create its view:
from django.shortcuts import render, redirect #add redirect
from django.contrib.auth import login
from django.contrib.auth.forms import UserCreationForm

def signup(request):
    if request.method == 'POST':
        form = UserCreationForm(request.POST)
        if form.is_valid():
            user = form.save()
            login(request, user)
            return redirect('home')
    else:
        form = UserCreationForm()
    return render(request, 'signup.html', {'form': form})
Django includes a user authentication system. To handle the creation of new users, it provides a form called UserCreationForm (which inherits from the ModelForm class). It contains three fields: username, password1, and password2 (for password confirmation). To use UserCreationForm, we first import it from django.contrib.auth.forms.
login() uses Django's session framework to save the user's ID in the session. The form should redirect us to the home page using the redirect() function if the form is valid.
In urls.py, we add a path to signup views:
path('signup/', views.signup, name='signup'),In Templates folder, we create a new file, signup.html:
{% extends 'base.html' %}
{% block content %}

<div class="container mt-5">
  <h2>Sign up</h2>
  <form method="post">
    {% csrf_token %}
    {% for field in form %}
      <p>
        {{ field.label_tag }}<br>
        {{ field }}
        {% if field.help_text %}
          <small style="color: grey">{{ field.help_text }}</small>
        {% endif %}
        {% for error in field.errors %}
          <p style="color: red">{{ error }}
        {% endfor %}
        </p>
    {% endfor %}
    <button type="submit" class="btn btn-primary">Create an account</button>
  </form>
</div>

{% endblock %}
We render the form in the template by iterating through it. We use {% csrf_token %} tag to avoid malicious attacks. When rendering the page, it generates a token on the server and ensures that it is cross-checked for subsequent requests. If the incoming requests lack the token, they are simply not processed.
If there is an error in any field, it will highlight an error message in red color. We then add a submit button to create a new account:
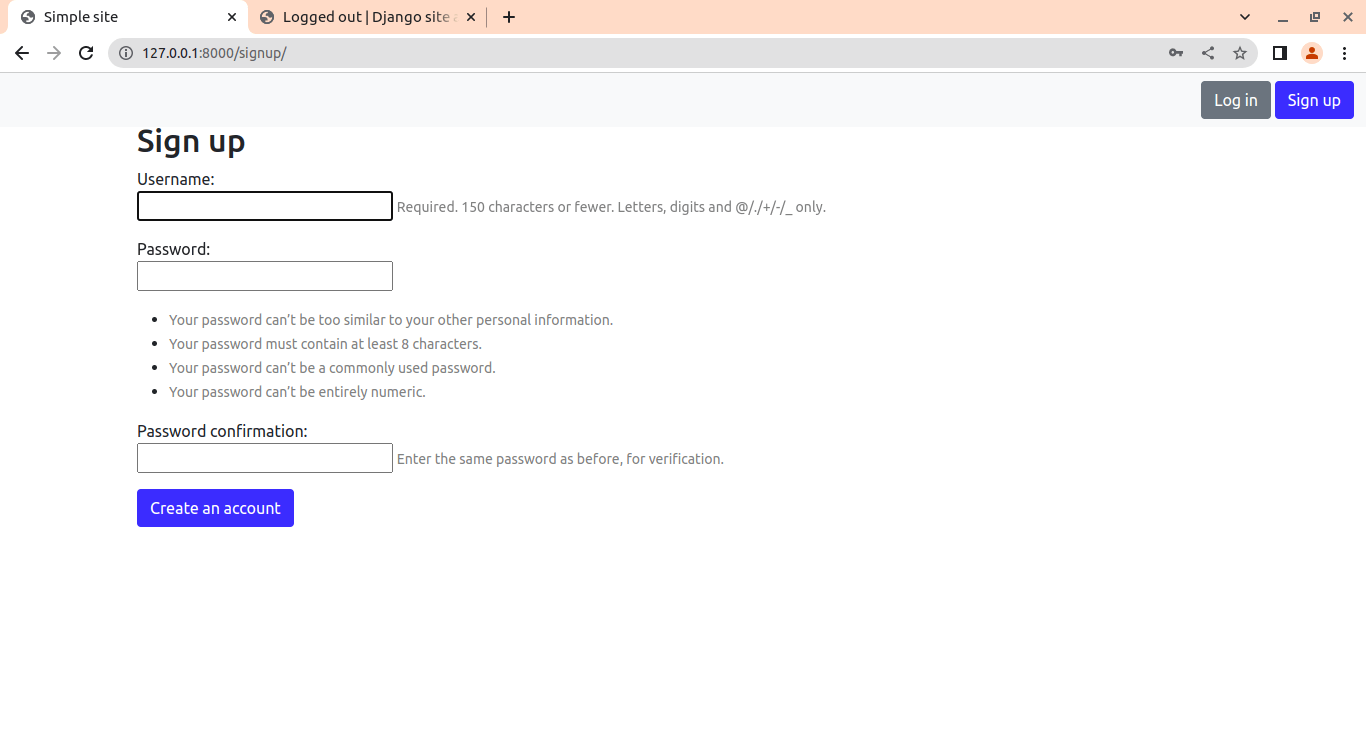
 After filling out the details, it redirects us to the homepage, with our new name updated. To confirm the signed users, let's access the admin interface.
Let's now link the get started button to the signup form on landing_page.html:
<a class="btn btn-primary btn-lg px-4 me-sm-3" href="{% url 'signup' %}" >Get Started</a>By clicking on the get started button, it will direct us to the signup form.
The Login Page
Now that we have setup the signup form let's create a page for the signed-up users to log in. In views.py:
from django.contrib.auth.forms import UserCreationForm, AuthenticationForm #Add AuthenticationForm

def log_in(request):
    if request.method == "POST":
        form = AuthenticationForm(data=request.POST)
        if form.is_valid():
            user = form.get_user()
            login(request,user)
            return redirect('home')
    else:
        form = AuthenticationForm()
    return render(request,'login.html', {"form":form})
Django lets us use its built-in form for handling login, AuthenticateForm. If the form is valid, it gets the user whose input data corresponds to existing users.
In urls.py, add the following:
path('login/', views.log_in, name='login'),We then create a new template in the Templates folder, login.html:
{% extends 'base.html' %}

{% block body %}
  <div class="container">
    <h1 class="text-center logo my-4">
      <a href="{% url 'home' %}">Simple site</a>
    </h1>
    <div class="row justify-content-center">
      <div class="col-lg-4 col-md-6 col-sm-8">
        <div class="card">
          <div class="card-body">
            <h3 class="card-title">Log in</h3>
            <form method="post" novalidate>
              {% csrf_token %}
            {{ form.as_p }}
              <button type="submit" class="btn btn-primary btn-block">Log in</button>
            </form>
          </div>
          <div class="card-footer text-muted text-center">
            New to Simple site? <a href="{% url 'signup' %}">Sign up</a>
          </div>
        </div>
      </div>
    </div>
  </div>

{% endblock %}
Here, we make sure that csrf_token is taken care of. We render the form for logging in. Let's update the landing_page.html template:
<a class="btn btn-secondary btn-lg" href="{% url 'login'%}" >Log in</a>Back to the log-in button on the landing page; it takes us to the login page:
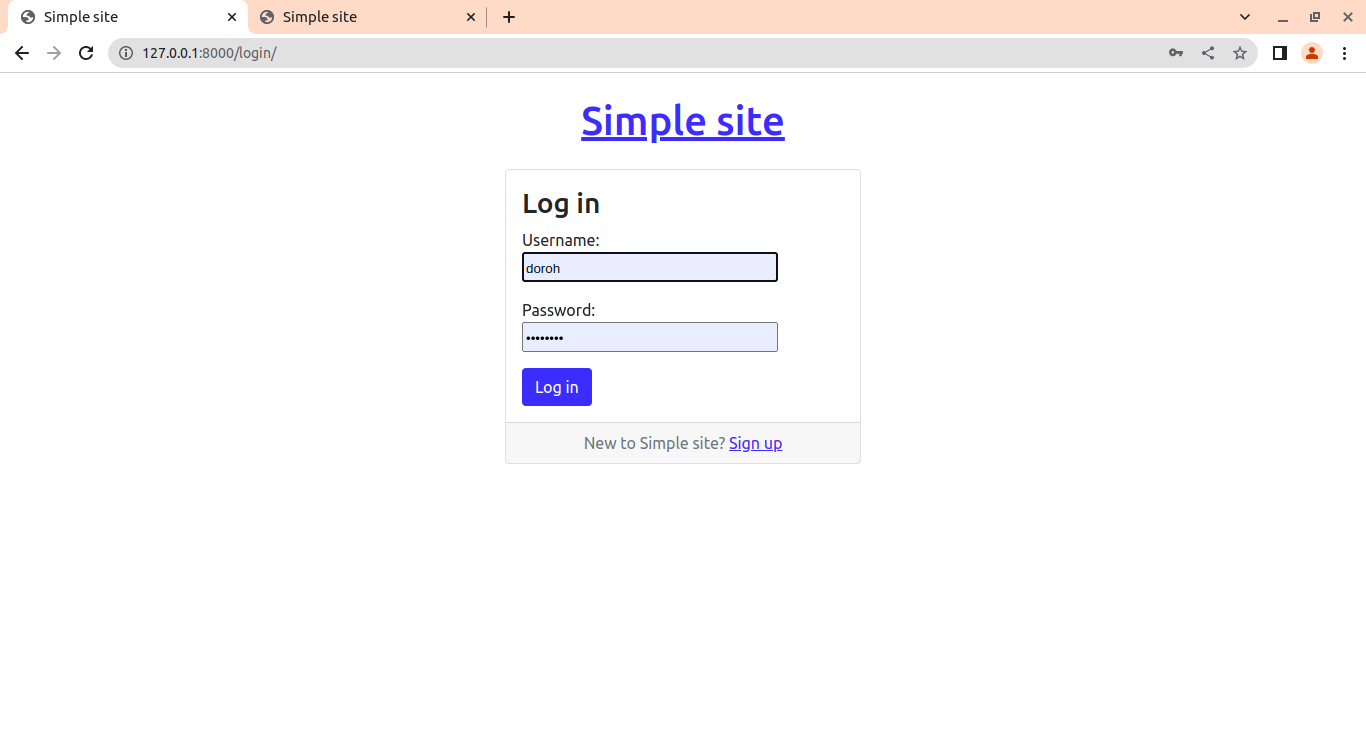
After the login, we're redirected to the home page:

The Logout Page
A user should be able to log out anytime. In views.py:
from django.contrib.auth import login, logout

def log_out(request):
    logout(request)
    return redirect('landing_page')
The logout() function from Django removes the authenticated user's ID from the request and flushes their session data.
Note that we cannot name our function logout() as it will conflict with built-in Django functions. In urls.py, add the following:
path('logout/', views.log_out, name='logout'),We should now link the paths to the navbar buttons for easy accessibility, base.html:
          <a class="btn btn-primary ml-auto"href="{% url 'logout'%}">Log out<span class="sr-only"></span></a>

          <form class="form-inline ms-auto" >
            <a href="{% url 'login'%}" class="btn btn-secondary" color="white">Log in</a>
            <a href="{% url 'signup'%}" class = "btn btn-primary ml-3">Sign up</a>
          </form>
Great. We can now access them by using the navbar buttons. When we click on the log-out button, it redirects us to the landing page, where we have to either log in or sign up again to access the homepage.
Conclusion
Congratulations! You have successfully created an authentication system in the Django framework! As you already saw, Django offers us convenient tools for the authentication process, with functions like login(), and logout(), and also with pre-built forms such as UserCreationForm and AuthenticateForm.
To get the complete project code, refer to this link.
For more information about authentication using Django, I invite you to check Django's official documentation.
Learn also: How to Build a CRUD Application using Django in Python.
Happy coding ♥
Save time and energy with our Python Code Generator. Why start from scratch when you can generate? Give it a try!
View Full Code Fix My Code


Got a coding query or need some guidance before you comment? Check out this Python Code Assistant for expert advice and handy tips. It's like having a coding tutor right in your fingertips!