Ready to take Python coding to a new level? Explore our Python Code Generator. The perfect tool to get your code up and running in no time. Start now!
A dictionary is an application that allows users to search for a specific word and provides the meanings of the word and its synonym and antonym in return. A GUI Audio Dictionary is a great way to learn a new language or to improve your pronunciation of a language you are already familiar with. If you have ever fancied the idea of building your own, this is a hands-on project that will teach you a lot about how to use Python programming language.
This tutorial will walk you through the process of building a dictionary app using Tkinter with audio pronunciation step-by-step. You will learn how to create the user interface using the Python core library Tkinter, and how to use the Python code to make the dictionary work. Building a GUI Audio Dictionary is a fun and challenging project that will teach you a lot about Python and how to use it to create useful applications.
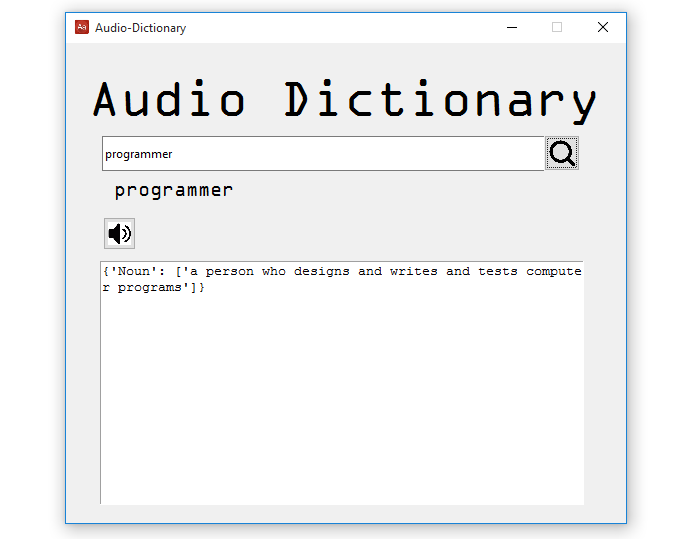
Here is what we are going to build by the end of this tutorial:
 We are going to build every piece of this application from the ground up so that we are on the same page.
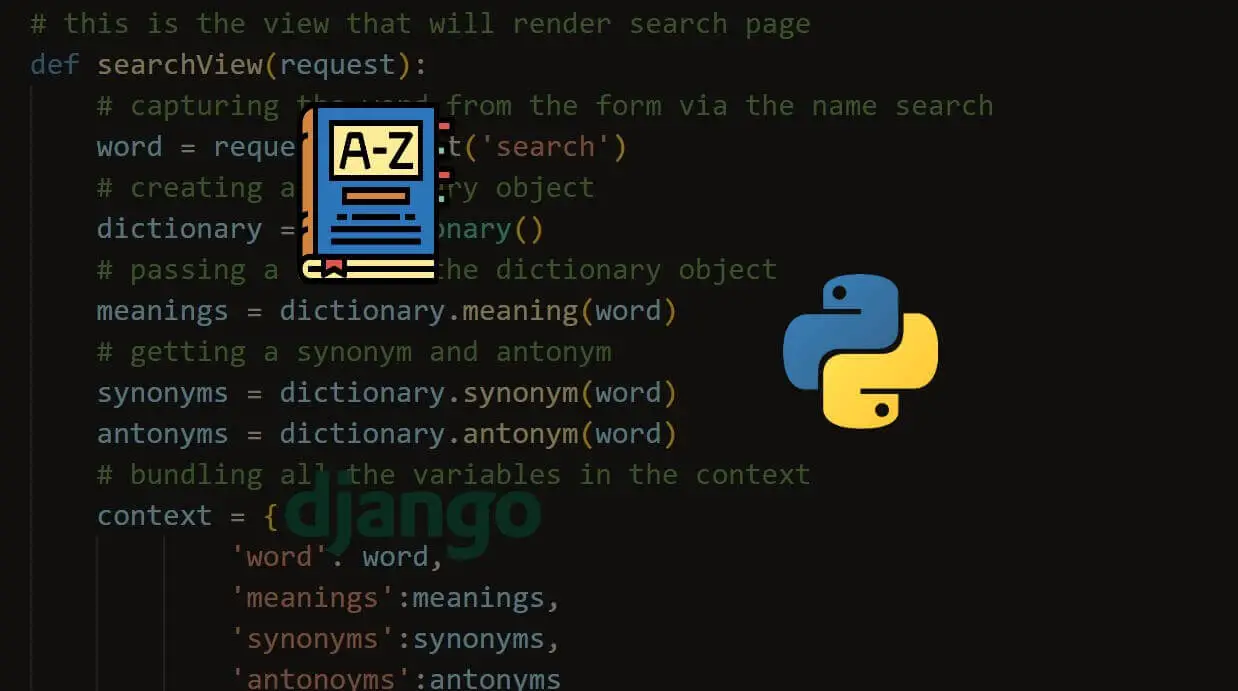
If you want to build a dictionary application using Django then we also have a tutorial on that, make sure to check it out if you're more into Django than Tkinter.
Table of Contents:
- Setting up the Environment
- Importing all the Required Modules
- Designing the Graphical User Interface
- Implementing the Application’s Functionality
- Conclusion
Setting up the Environment
Let’s start by setting up the project’s working environment, create a virtual environment using the command:
$ python -m venv projectAll the project’s required modules will be installed in this virtual environment, so let us activate it.
On Windows activate it using the:
$ ./project/Scripts/activateAnd on macOS or Linux use:
$ source project/bin/activateHaving activated the virtual environment, let us install the required modules in it. Use:
$ pip install PyDictionary pyttsx3Importing all the Required Modules
Now create a Python file and name it audio-dictionary.py, you can name it whatever you want but just make sure the name is meaningful. Open the file and paste this code:
# this imports everything from the tkinter module
from tkinter import *
# importing the ttk module from tkinter that's for styling widgets
from tkinter import ttk
# importing message boxes like showinfo, showerror, askyesno from tkinter.messagebox
from tkinter.messagebox import showerror, askyesno
# importing the PyDictionary library
from PyDictionary import PyDictionary
# this package converts text to speech
import pyttsx3
Breaking down the code snippet, from the first to the last line, here is what we have. We are importing everything from tkinter using the asterisk(*) symbol, then we are importing the ttk module for styling the application’s widgets(labels, buttons, entries, etc).
We are also importing the message boxes for displaying messages to the user when a certain action is triggered in the application. With the last two lines, we are importing the PyDictionary module for finding word meanings, and the pyttsx3 for converting text to speech.
Designing the Graphical User Interface
In this section, we will start designing the application's GUI. The designing process will be in-depth so that you understand what is going on and how powerful is the Tkinter module when it comes to designing snazzy GUIs.
Creating the Main Window and Adding its Icon
We will start with the main window and its icon (you can get the icon in the current working directory of the project on GitHub), just below the imports add these lines of code:
# creates the window using Tk() fucntion
window = Tk()
# creates title for the window
window.title('Audio-Dictionary')
# adding the window's icon
window.iconbitmap(window, 'dictionary.ico')
# dimensions and position of the window
window.geometry('560x480+430+180')
# makes the window non-resizable
window.resizable(height=FALSE, width=FALSE)

# runs the window infinitely
window.mainloop()
In the code snippet, we are creating the main window using the Tkinter built-in Tk() class, we are then giving a title to the main window using the title() function. We are using the iconbitmap() function to add an icon to the main window, this function takes the window and the actual icon as arguments. Make sure that the icon file is in the same folder as the Python file:
 The
The geometry() function is for giving dimensions and position to the main window, 560x480 is for width and height, respectively and 430+180 is for positioning the main window horizontally and vertically. To make the main window non-resizable, we use the resizable() function whose height and width are set to FALSE, this will disable the minimize or maximize button of the main window.
Finally, we are calling the mainloop() function, this enables the main window to run in an infinite mode until the window is closed.
Run the program using this command:
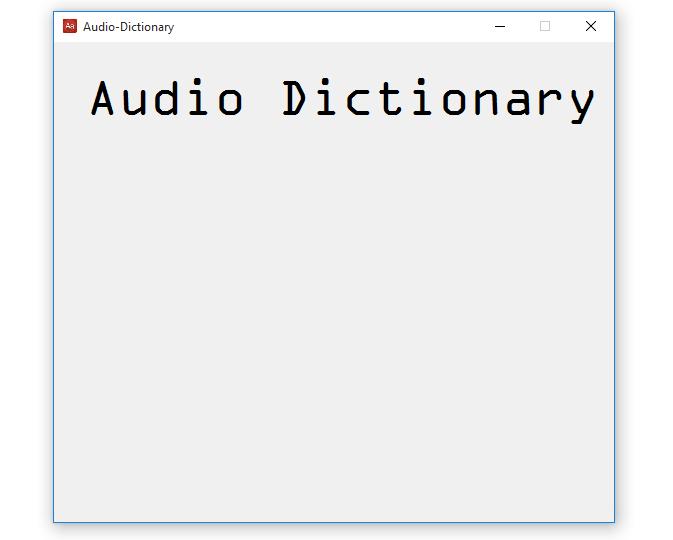
$ python audio-dictionary.pyThe output will be as follows:
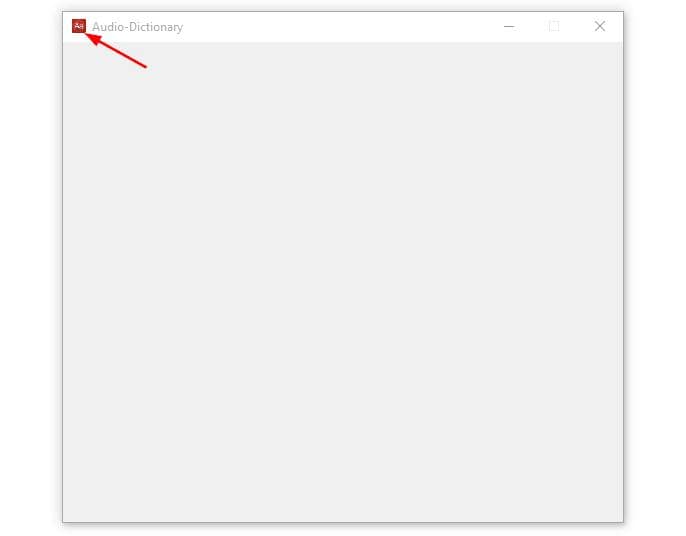
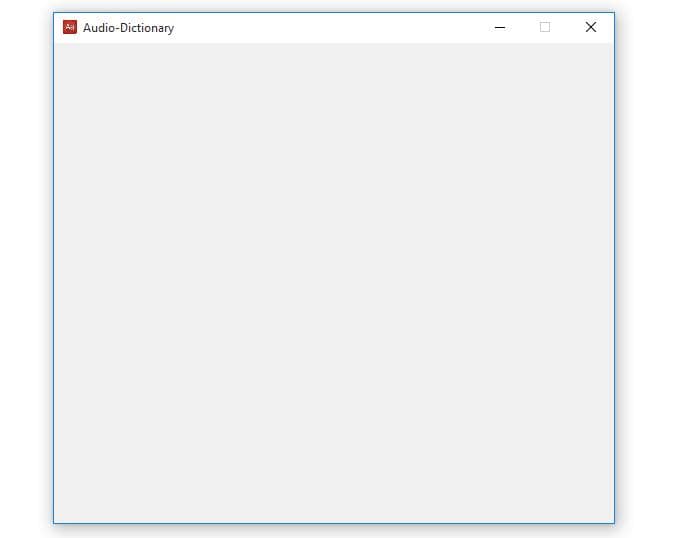 And on the top left corner of the window, we have an icon added:
 Defining all the Widgets Styles to be Used
Since we want the application to have styled widgets, in this section we will define all the styles. Below the line:
window.resizable(height=FALSE, width=FALSE)Paste these lines of code:
"""Styles for the widgets"""
# style for the big text label
big_label_style = ttk.Style()
big_label_style.configure('big_label_style.TLabel', foreground='#000000', font=('OCR A Extended', 40))
# style for small text labels
small_label_style = ttk.Style()
small_label_style.configure('small_label_style.TLabel', foreground='#000000', font=('OCR A Extended', 15))
# style for the entry
entry_style = ttk.Style()
entry_style.configure('TEntry', font=('Dotum', 20))
# style for the two buttons
button_style = ttk.Style()
button_style.configure('TButton', foreground='#000000', font='DotumChe')
In the code snippet, we are creating four style objects using the ttk.Style() built-in class for the ttk module. These styles are for these widgets, labels, buttons, and the entry field, and to have them configured we use a configure() function that takes arguments like the style name (TLabel, TEntry, TButton, etc), font, foreground, etc.
Adding the Canvas
Having taken care of the widget styles, let us add the Canvas to the main window, this Canvas will be the container for all the widgets for the app. Just below the styles code, add this code:
# creates the canvas for containing all the widgets
canvas = Canvas(window, width=480, height=560)
# packing the canvas
canvas.pack()
With these two lines of code, we are creating a Canvas of width 480 and height 560 and we are placing it inside the main window, and finally, we are packing it using the pack() geometry manager system.
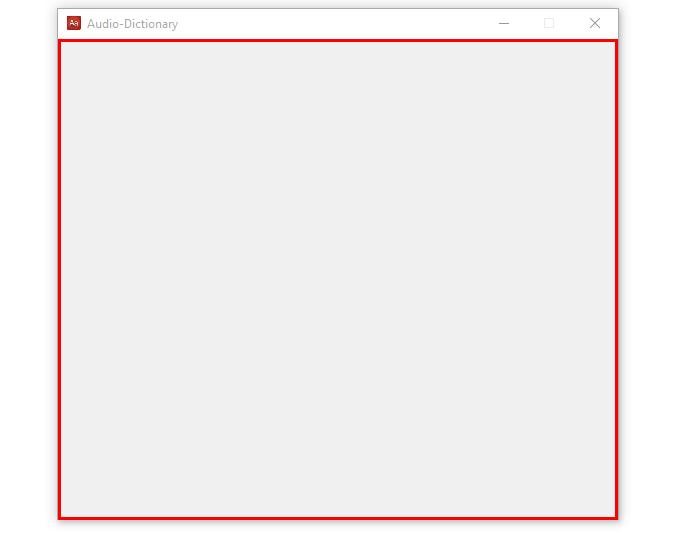
If you run the program you will not see the Canvas but practically this is the space it is taking up in the main window:
 Adding Widgets to Canvas
After adding the Canvas, let us now start adding widgets to it. As mentioned earlier, Canvas will contain all the widgets. Something worth mentioning here, since all the buttons will use icons, make sure all the icons are in the same folder as the Python file like this:
 The Title Label
The first widget that we are adding to the Canvas is the label for the big text, so below the Canvas add this code:
# creating a ttk label
text_label = ttk.Label(window, text='Audio Dictionary', style='big_label_style.TLabel')
# adding the label to the canvas
canvas.create_window(250, 55, window=text_label)
Here we are creating a label using the ttk.Label() function which is taking window, text, and style as arguments. Finally, we add this label to the canvas using the create_window() function, it takes three arguments, 250, 55, and window.
This is the output for the added code:
 Entry Field and the Search Button
Here we will add two widgets, the entry, and the search button, below the label paste this code:
# creating a ttk entry
word_entry = ttk.Entry(window, width=73, style='TEntry')
# adding the entry to the canvas
canvas.create_window(230, 110, window=word_entry, height=35)
# loading the icon
search_icon = PhotoImage(file='search.png')
# creates dimensions of the icon
logo = search_icon.subsample(20, 20)
# creating a ttk button with a search icon
search_button = ttk.Button(window, image=logo, style='TButton')
# adding the entry to the canvas
canvas.create_window(468, 110, window=search_button)
In the code snippet, we are creating an entry using the ttk.Entry() which takes window, width, and style as arguments. To add it to the Canvas we are using the create_window() function, it is taking 230, 110, window, and height as arguments.
We are then creating an image object using the PhotoImage() function, which takes the icon file as input. To resize the icon we are using the subsample() function with 20 and 20 as arguments.
Finally, we are a button using the ttk.Button() function which takes window, image, and style as arguments, and again we are using the create_window() function to add it to the Canvas.
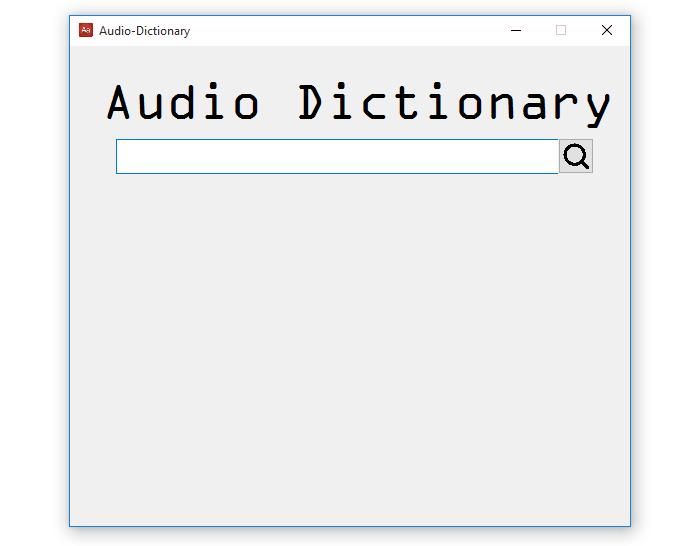
The added code will result in this output:
 Label and the Audio Button
Let us add the other widgets, the empty label for displaying the word, and the disabled audio button. Below the entry and button above, add the code:
# loading the icon
audio_icon = PhotoImage(file='speaker.png')
# creates dimensions of the logo
icon = audio_icon.subsample(10, 10)
word_label = ttk.Label(window, style='small_label_style.TLabel')
# adding the label to the canvas
canvas.create_window(80, 145, window=word_label)
# creating another ttk button with a speaker icon
audio_button = ttk.Button(window, image=icon, style='TButton', state=DISABLED)
# adding the entry to the canvas
canvas.create_window(25, 190, window=audio_button)
Let us break down the code snippet, we are first of all creating an image object via PhotoImage() function whose input is the icon file. To resize the icon, subsample() function is used.
We are then creating the label using the ttk.Label() function, its arguments are window and style and the create_window() function is for adding it to the Canvas.
Finally, we are creating a disabled button using the ttk.Button() function, that takes window, image, style, and the state as arguments. To add it to the Canvas we are using the create_window() function.
Text Field
The last widget to be added to the Canvas is the text field, below the audio button paste this code:
# creating the text field
text_field = Text(window, height=15, width=60)
# adding the text field to the canvas
canvas.create_window(248, 340, window=text_field)
This is what is happening in the code above, we are creating a text field using the Text() function which takes window, height, and width. To add it to the Canvas we use the usual create_window() function with 248, 340, and window as arguments.
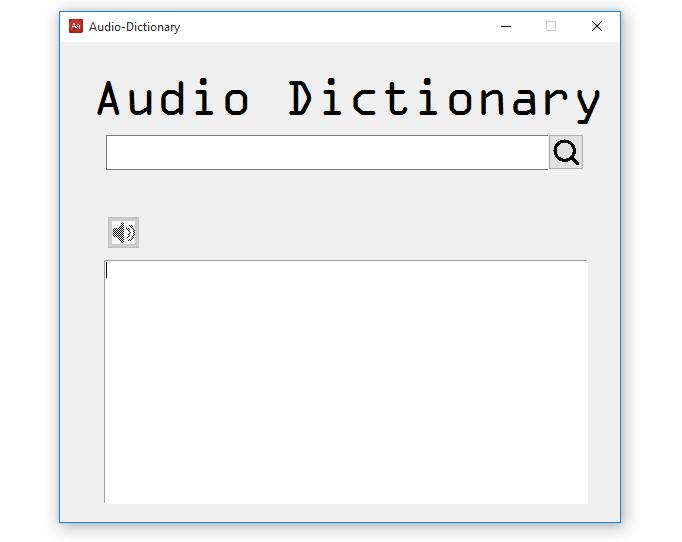
Running the program, you will get this output:
 Implementing the Close Application Functionality
Let us finish off the GUI design by implementing the close application functionality. Below the imports, paste this code:
# the function for closing the application
def close_window():
# this will ask the user whether to close or not
# if the value is yes/True the window will close
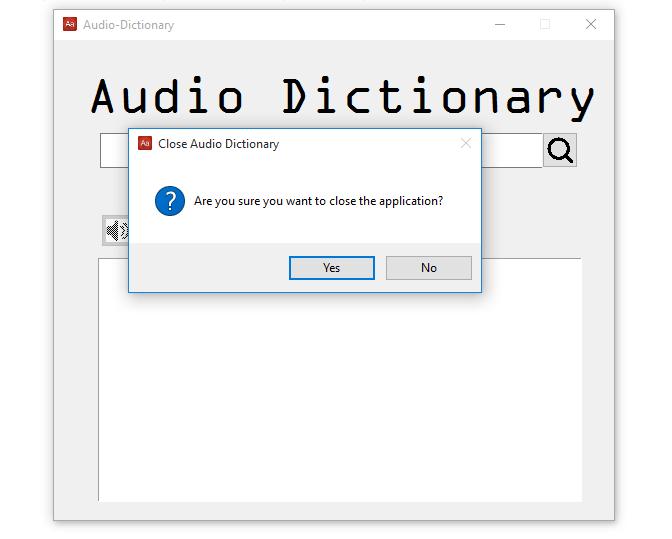
if askyesno(title='Close Audio Dictionary', message='Are you sure you want to close the application?'):
# this destroys the window
window.destroy()Here is what is happening in the code snippet, we have a function called close_window(), and inside it, we have the askyesno message box, which evaluates into two boolean values True or False. If the user provides a yes which evaluates to True, the destroy() function will be executed, and the main window will be closed. If the askyesno value is False the window will still be running.
Now that the function for closing the window has been taken care of, we need to let the main window listen for the close window event, so to do that, below this line of code:
window.title('Audio-Dictionary')Add this line of code:
# this is for closing the window via the close_window() function
window.protocol('WM_DELETE_WINDOW', close_window)
With this line of code, the protocol() function takes WM_DELETE_WINDOW and the close_window function as arguments. With the help of WM_DELETE_WINDOW, the function will listen for the close main window event, which is emitted whenever the user clicks the close button on the main window.
If the event is detected, the close_window() function is executed, and the askyesno message box appears, if the user clicks yes the window closes, and if no the window still runs.
If you run the program and click the close button on the main window this is the output that you get:
 Implementing the Application’s Functionality
Now that we are done designing the GUI, in this section we will focus on implementing all the application’s functionalities so that we have a fully functional application.
Searching for the Word Meaning Functionality
The first functionality to implement is the search word meaning, so below the close_window() function, add this code:
# function for searching the word meaning
def search_word():
    # getting the word from the entry using the get()
    word = word_entry.get()
    # checking if the word variable is empty
    if word == '':
        # message box to display if the word variable is empty
        showerror(title='Error', message='Please enter the word you wanna search for!!')

    # the else statement will execute if the word variable is not empty
    else:
        # this will execute the code that will find the word meanings
        try:
            # creating a dictionary object
            dictionary = PyDictionary()
            # passing a word to the dictionary object
            meanings = dictionary.meaning(word)
            # deleting content in the text field
            text_field.delete(1.0, END)
            # inserting content(meanings) in the text field
            text_field.insert('1.0', meanings)
            # adding the word to the empty label
            word_label.config(text=word)
            # enabling the audio button to normal state
            audio_button.config(state=NORMAL)
        # this will catch all the exceptions, No/slow internet connection, word with wrong spellings
        except:
            # display the error to the user
            showerror(title='Error', message='An error occurred while trying to search word meaning' \
                   '\nThe following could be ' \
                    'the cause:\n->No/Slow internet connection\n' \
                    '->Wrong word spelling\n' \
                    'Please make sure you have a stable internet connection&\nthe word spelling is correct')
We are creating a function called search_word() and inside it, this is what is happening:
- We are getting the word from the entry field via the
get()function. - Then we have an
if/elseblock, with theifstatement we check if the word is empty. If so, we display an error message using theshowerror()message box. - Inside the
elsestatement, we are creating aPyDictionaryobject, to get the word's meaning we are passing the word to this object via themeaning()function. Before inserting the meanings in the text field we are clearing the text field using thedelete()function whose arguments are1.0andEND. - To insert the meaning to the text field we use
insert()function which takes‘1.0’andmeaningsas arguments. After that, we add the word to the empty label that we created earlier using theconfig()function. - Finally, we are changing the state of the audio button back to normal, this means that the button will only be clickable when the word meaning is found.
- And in the
exceptstatement, we catch every error encountered while searching the word meaning and display the error to the user using theshowerror()message box.
Now let us bind this function to the search button, so edit the search button code and make it look like this:
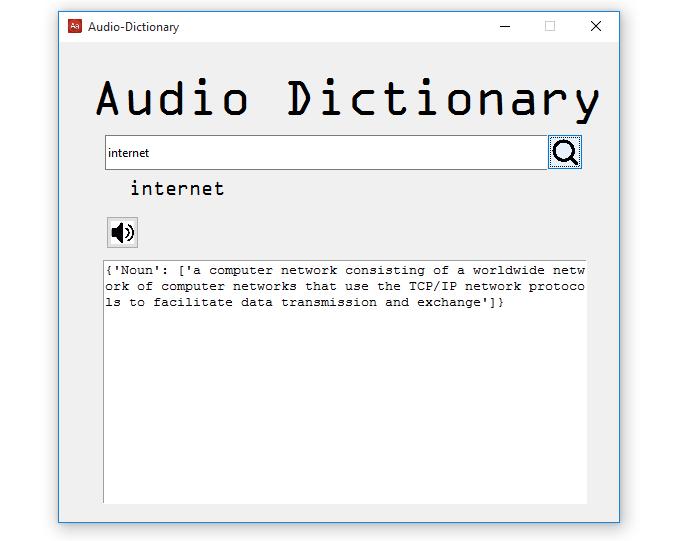
search_button = ttk.Button(window, image=logo, style='TButton', command=search_word)Here we are telling the button that it must trigger the search_word() function once it is clicked. Let us search for a word and see if the functionality is working fine.
Search for any word and you will get this output:
 And if you look closely the audio button has been enabled:
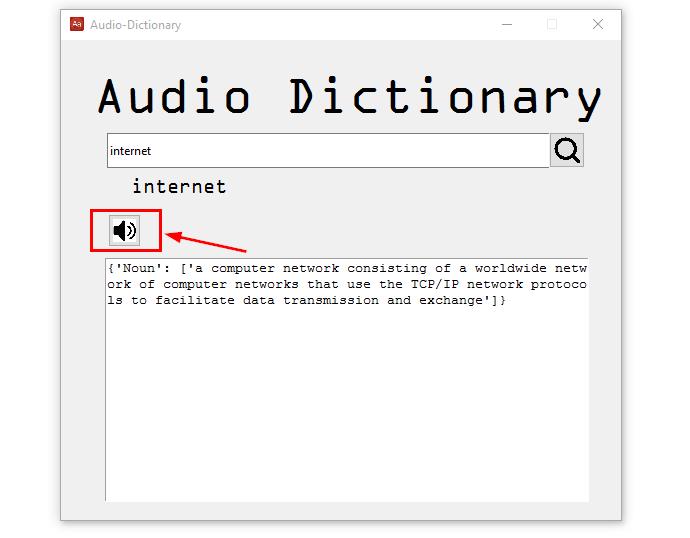 This is so because in the
 search_word() function we have specified that the moment the word meaning is found the button must be enabled.
Word Pronunciation Functionality
In this section, we will implement the word pronunciation feature in other words we want our dictionary application to convert the words to speech. The function is quite similar to our text-to-speech tutorial. Paste this code below the search_word() function:
# function to turn textual data into audio data
def speak():
    # getting the word from the entry
    word = word_entry.get()
    # initializing the pyttsx3 object
    engine = pyttsx3.init()
    # gets the speaking rate
    rate = engine.getProperty('rate')
    # setting the speaking rate
    engine.setProperty('rate', 125)
    # getting the available voices
    voices = engine.getProperty('voices')
    # setting the second voice, the female voice
    engine.setProperty('voice', voices[1].id)
    # this function takes the word to be spoken
    engine.say(word)
    # this fucntion processes the voice commands
    engine.runAndWait()
In the speak() function, we are getting the word from the entry via the get() function, then we are initializing the pyttsx3 object via pyttsx3.init(). To get the speech rate, we use the getProperty() function, and to set it to a different rate we use setProperty() function.
The pyttsx3 library comes with voices, to access this voice we use getProperty() function again, and to set it to a different voice we use setProperty() function in our case we are setting it to a female voice. For the word to be spoken we use the say() function and the runAndWait() function processes the voice commands.
We need to bind this function to the audio button, so inside the search_word() function within the try statement edit the audio button so that it looks like this:
audio_button.config(state=NORMAL, command=speak)Now run the program search for a word and try clicking the audio button, you will hear the word being pronounced audibly.
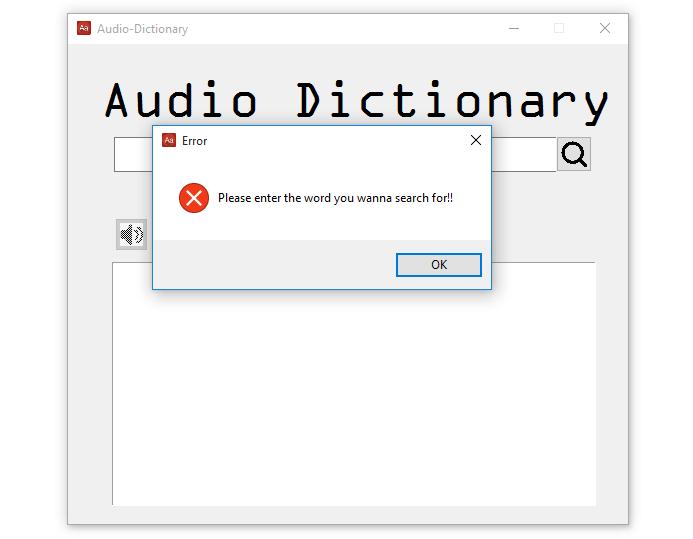
If the user left the entry field empty and clicked the search button, this is the feedback the application would give:
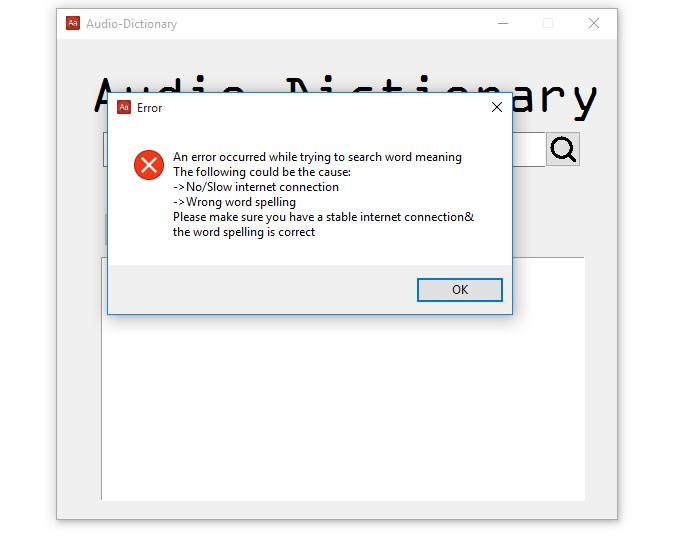
 If there was no internet connection or the word provided was not correct in spelling this is the output the application would give:
 Congratulations on successfully building your audio dictionary application, it seems that the application is working just fine.
Conclusion
The objective of this tutorial was to create a GUI Audio Dictionary using Python. The first step was to install the required modules, design the graphical user interface, and implement the functionalities of the application. Finally, the tutorial walked you through the process of testing the application. We hope there is so much that you have learned and that you will apply the acquired knowledge in your future Python projects.
Learn also: How to Make a File Explorer using Tkinter in Python.
Happy coding ♥
Just finished the article? Why not take your Python skills a notch higher with our Python Code Assistant? Check it out!
View Full Code Understand My Code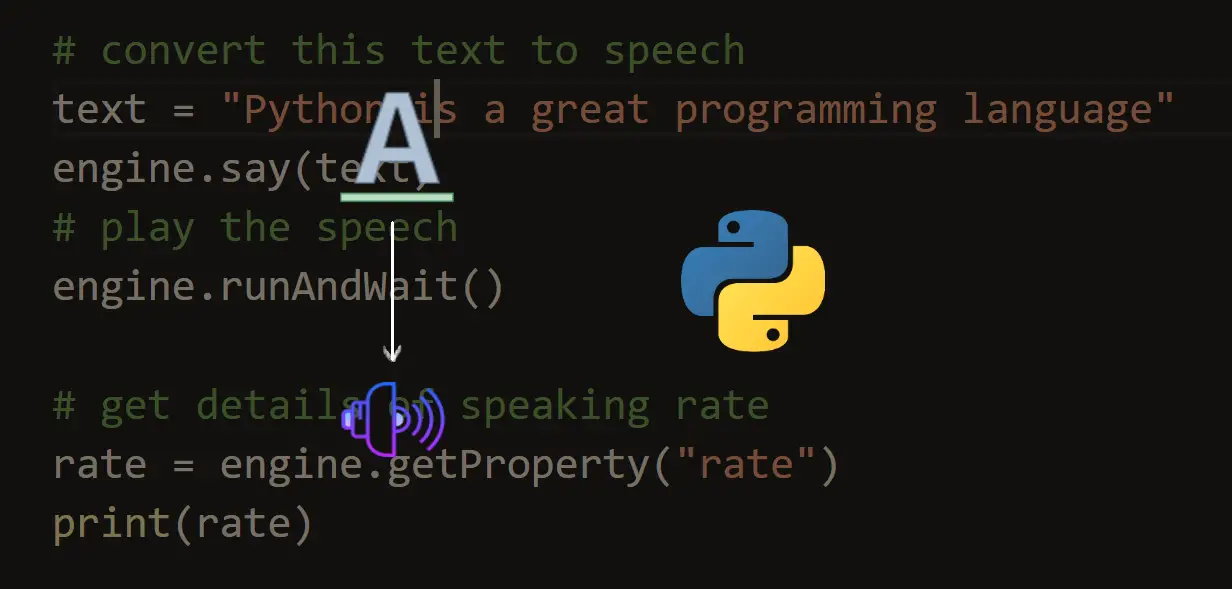


Got a coding query or need some guidance before you comment? Check out this Python Code Assistant for expert advice and handy tips. It's like having a coding tutor right in your fingertips!