Kickstart your coding journey with our Python Code Assistant. An AI-powered assistant that's always ready to help. Don't miss out!
Idea
In this tutorial, we are going to make a simple text editor with the Tkinter module which comes with Python so we don't have to install anything. It will have the following features.
- Open text files.
- Edit text files.
- Save text files.
- Open with (our Editor)
We start by importing some modules which we all later need. We import everything from Tkinter so we have all the variables available and we also import the scrolledtext and filedialog modules individually. The scrolledtext will be the text area where we write and the filedialog allows us to trigger the askopenfilename() function.
# Import
from tkinter import *
from tkinter import scrolledtext
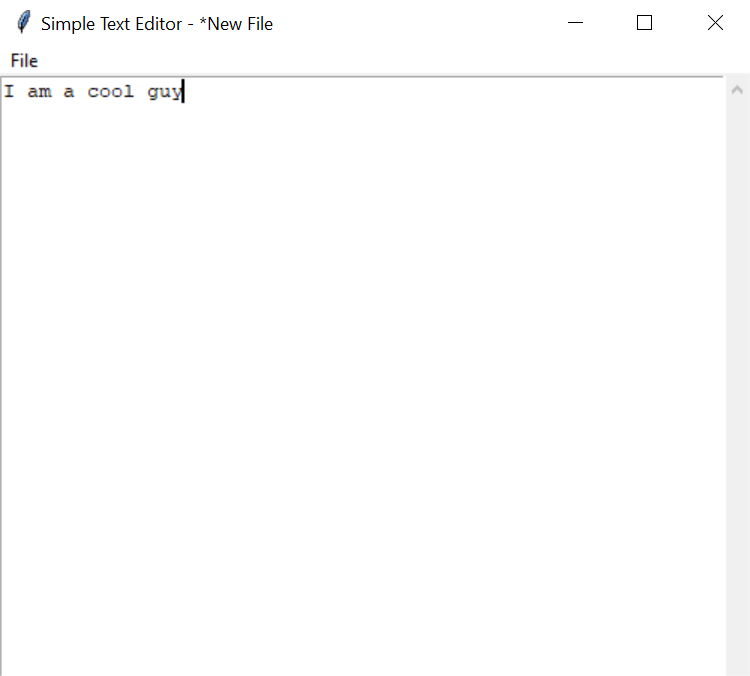
from tkinter import filedialogNext, we import ctypes to enable high DPI (Dots per Inch) so our window looks sharper. Below the code, you will find a comparison.
import ctypes
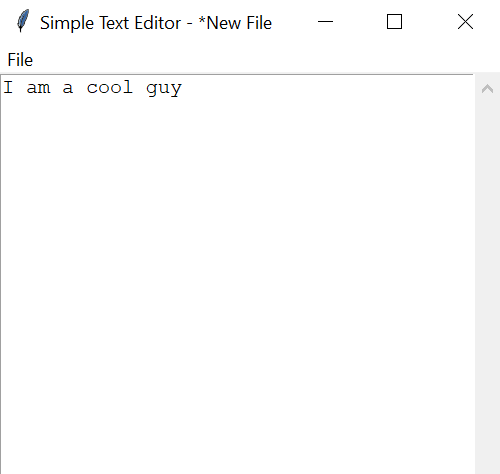
Here's what a low DPI looks like:
High DPI:
We import sys so we can analyze the arguments given through the command line. We later use this to enable open with:
import sysVariable Setup
Now we set up some variables for our little program. The first two variables are used to keep consistency when titling our program. The currentFilePath is used when saving the file so we know where to save it. This string will also be appended to the window title like many programs do to show what file is being edited. At last, we define which file types can be opened with our editor. We used this variable in the file dialogues:
# Setup Variables
appName = 'Simple Text Editor'
nofileOpenedString = 'New File'

currentFilePath = nofileOpenedString

# Viable File Types, when opening and saving files.
fileTypes = [("Text Files","*.txt"), ("Markdown","*.md")]
Tkinter Setup
Next, we are going to set up the Tkinter window. To do that we make a new Tk object. After that, we give the window a title, and we use the variables we defined earlier.
Because we have no file opened at the moment it will say Simple Text Editor - New File. We will also make it so an asterisk will be added in front of the file name so we know when we have unsaved changes.
Then we set the initial window dimensions in pixels with the geometry method of Tkinter. Last but not least we set the first column to take up 100% of the space so our text area will be the full width:
# Tkinter Setup
window = Tk()

window.title(appName + " - " + currentFilePath)

# Window Dimensions in Pixel
window.geometry('500x400')

# Set the first column to occupy 100% of the width
window.grid_columnconfigure(0, weight=1)
Handler Functions
Now we are going to set up two functions that are connected to some events called by Tkinter widgets.
File Actions
The first function is called when we press any of the file buttons so we can save open and make new files. Later you will see how we connect them. We have to get the currentFilePath because it was defined outside this function. Our function will take one argument namely the action, which defines what we want to do. We will check for this argument and do stuff dependent on that.
So if the action is open, we will trigger the askopenfilename() function through the filedialog module. We supply it with the fileTypes we defined earlier so the user will only be able open these file types.
After we choose the file, the function will return the path of the file. Then we set the window title to our "appName - file". After that, we set our currentFilePath to this file path. Now we just open the file and insert the content into our text area called txt after we clear it with the delete() method:
# Handler Functions
def fileDropDownHandeler(action):
    global currentFilePath
    # Opening a File
    if action == "open":
        file = filedialog.askopenfilename(filetypes = fileTypes)
        window.title(appName + " - " + file)
        currentFilePath = file
        with open(file, 'r') as f:
            txt.delete(1.0,END)
            txt.insert(INSERT,f.read())
If the action is new, we will set the file path to the new file. We also delete the text in the text area and reset the window title:
    # Making a new File
    elif action == "new":
        currentFilePath = nofileOpenedString
        txt.delete(1.0,END)
        window.title(appName + " - " + currentFilePath)
Last but not least, we will check for save or saveAs. Now if the file is new or we pressed the Save As button, we will ask the user where they want to save the file. Then, we open the file and save the text from the text area there. After that, we reset the window title because there probably was an asterisk:
    # Saving a file
    elif action == "save" or action == "saveAs":
        if currentFilePath == nofileOpenedString or action=='saveAs':
            currentFilePath = filedialog.asksaveasfilename(filetypes = fileTypes)
        with open(currentFilePath, 'w') as f:
            f.write(txt.get('1.0','end'))
        window.title(appName + " - " + currentFilePath)
Text Change
Now for a simple function. Whenever the text area is changed, we'll call this function to simply add an asterisk after the appName and before currentFilePath to show the user that there are unsaved changes:
def textchange(event):
    window.title(appName + " - *" + currentFilePath)
Widgets
Now we are going to set up the Graphical Elements.
Text Area
First, we set up the Text Area and set its height to 999 so it spans the full height, we set its position through the grid() method. sticky=N+S+E+W to tell the widget to grow in all directions when the user resizes the window.
In the bind() method, we say that whenever a key is pressed in the text area, we call the textchange() function:
# Text Area
txt = scrolledtext.ScrolledText(window, height=999)
txt.grid(row=1,sticky=N+S+E+W)

# Bind event in the widget to a function
txt.bind('<KeyPress>', textchange)
Menu
Now let's set up our Dropdown menu for file interactions. We first make a new Menu that has the root window. We make a second one that has the root of the first menu, and we set the tearoff to False so the user won't be able to tear off this menu to have it as a separate window.
Then we add commands to this menu with its add_command() method. We have to supply this function with a label that represents the displayed text and a command which is then called function if the button is pressed. We need to make a lambda function that calls our fileDropDownHandler() function. We have to do this so we can supply our function with an argument.
We can also add separators with the add_seperator() method. In the end, we add this menu as a cascade to the menu button and we set this menu to be the main menu:
# Menu
menu = Menu(window)
# set tearoff to 0
fileDropdown = Menu(menu, tearoff=False)
# Add Commands and and their callbacks
fileDropdown.add_command(label='New', command=lambda: fileDropDownHandeler("new"))
fileDropdown.add_command(label='Open', command=lambda: fileDropDownHandeler("open"))
# Adding a seperator between button types.
fileDropdown.add_separator()
fileDropdown.add_command(label='Save', command=lambda: fileDropDownHandeler("save"))
fileDropdown.add_command(label='Save as', command=lambda: fileDropDownHandeler("saveAs"))
menu.add_cascade(label='File', menu=fileDropdown)
# Set Menu to be Main Menu
window.config(menu=menu)
Open with
Now we need to enable the user to open a file directly with our program with this little code snippet. We check if the system argument length equates to two we know that the second argument is the path of the desired file. So we now set the currentFilePath to this path. After that, we do essentially the same as with the open with handler function:
# Enabling "open with" by looking if the second argument was passed.
if len(sys.argv) == 2:
    currentFilePath = sys.argv[1]
    window.title(appName + " - " + currentFilePath)
    with open(currentFilePath, 'r') as f:
        txt.delete(1.0,END)
        txt.insert(INSERT,f.read())
Main Loop
In the end, we call the main loop method on the window so the window displays:
# Main Loop
window.mainloop()
Showcase
Let's see how the program works in this short GIF:
Conclusion
Excellent! You have successfully created a simple text editor using Python code! See how you can add more features to this program such as making key shortcuts.
If you want to learn more about using Tkinter, check this tutorial if you want to make a file explorer using Python. or this one where you create a calculator app along with many features!
Get the complete version of the code here.
If you want to build more GUIs with Python, check our GUI programming tutorials page!
Learn also: How to Make Buttons in PyGame.
Happy coding ♥
Finished reading? Keep the learning going with our AI-powered Code Explainer. Try it now!
View Full Code Improve My Code


Got a coding query or need some guidance before you comment? Check out this Python Code Assistant for expert advice and handy tips. It's like having a coding tutor right in your fingertips!