Ready to take Python coding to a new level? Explore our Python Code Generator. The perfect tool to get your code up and running in no time. Start now!
In this tutorial, we will make a simple code editor for Python scripts that supports running the code with a keyboard shortcut and syntax highlighting made possible with regex. Advanced features like saving and loading Python files are left for you to create, although we've made the feature in the text editor tutorial.
Imports
For this program, we need tkinter for the UI, ctypes to increase the DPI, re for the syntax highlighting, and os to run the program:
from tkinter import *
import ctypes
import re
import os

# Increas Dots Per inch so it looks sharper
ctypes.windll.shcore.SetProcessDpiAwareness(True)
Setup
After we have imported the necessary modules, we setup Tkinter with the Tk() function, and then we set the initial window size with the geometry() method.
# Setup Tkinter
root = Tk()
root.geometry('500x500')
Then we define a variable that will hold the previous content of the edit area. We will use it to ensure that the syntax highlighting is only redrawn if the content has actually changed. We could also use this to make the save feature.
Then we define colors for the different types of tokens and the background. We also set the font to Consolas, a Monotype often used in coding. For the colors, we use a function called RGB, defined in this markdown editor article, that will transform RGB tuples into hex values. This is done because Tkinter does not support RGB, but RGB is more readable than hex:
previousText = ''

# Define colors for the variouse types of tokens
normal = rgb((234, 234, 234))
keywords = rgb((234, 95, 95))
comments = rgb((95, 234, 165))
string = rgb((234, 162, 95))
function = rgb((95, 211, 234))
background = rgb((42, 42, 42))
font = 'Consolas 15'
After that, we put the colors to use by saving them in a nested list with the fitting Regular Expression. So you see, the first one is for the keywords, and the next two are for strings with " and ' and the last one is for comments with a hashtag #.
In another function that will be called every time changes occur, we will highlight the text using this list:
# Define a list of Regex Pattern that should be colored in a certain way
repl = [
    ['(^| )(False|None|True|and|as|assert|async|await|break|class|continue|def|del|elif|else|except|finally|for|from|global|if|import|in|is|lambda|nonlocal|not|or|pass|raise|return|try|while|with|yield)($| )', keywords],
    ['".*?"', string],
    ['\'.*?\'', string],
    ['#.*?$', comments],
]
Widgets
Continuing, we make the editArea which is simply a Text widget. These are pretty powerful when it comes to highlighting because we can define tags with all kinds of styles and apply these styles to specific spans inside the widget. We will later see how this is done in practice.
For this Text widget, we set the background and text color. We also need to set the caret color with the insertbackground parameter. To add padding, we set the borderwidth to 30 and relief to FLAT. This just means that the border won't have a line. Lastly, we also set the font.
# Make the Text Widget
# Add a hefty border width so we can achieve a little bit of padding
editArea = Text(
    root,
    background=background,
    foreground=normal,
    insertbackground=normal,
    relief=FLAT,
    borderwidth=30,
    font=font
)
Then we place the widget by calling its pack() function. We set the fill to BOTH and expand to true (or one), so the widget will span the entirety of the window even if it is resized. After that, we also insert some starting text with the insert() method:
# Place the Edit Area with the pack method
editArea.pack(
    fill=BOTH,
    expand=1
)

# Insert some Standard Text into the Edit Area
editArea.insert('1.0', """from argparse import ArgumentParser
from random import shuffle, choice
import string

# Setting up the Argument Parser
parser = ArgumentParser(

    prog='Password Generator.',
    description='Generate any number of passwords with this tool.'
)
""")
Then we also bind the KeyRelease on the editArea to the changes function that we will define later. It will handle replacing the tags.
We then also set Control-r to call the execute function, which will run the program as its name suggests. Then we call the function that highlights everything and starts the program:
# Bind the KeyRelase to the Changes Function
editArea.bind('<KeyRelease>', changes)

# Bind Control + R to the exec function
root.bind('<Control-r>', execute)

changes()
root.mainloop()
Keep in mind that the functions used here are defined beforehand.
Execute Function
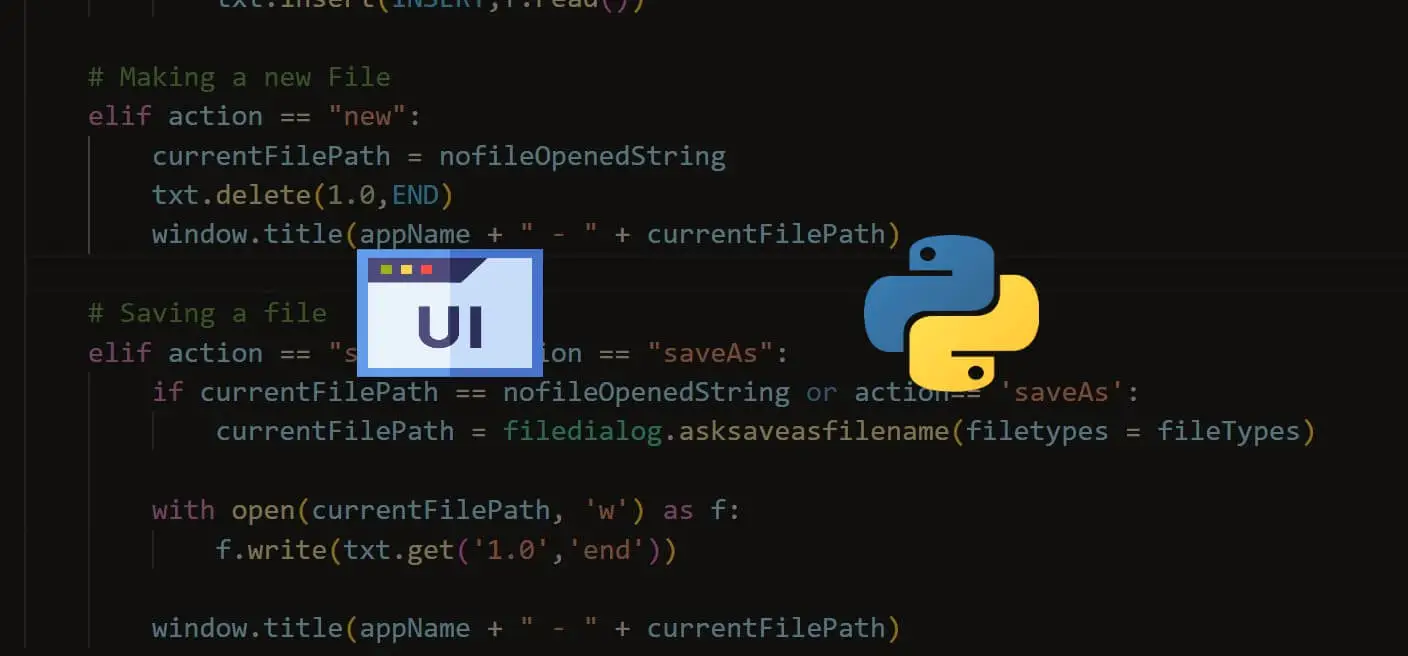
Now let us come to the function that actually runs the program. This will be called when the user presses control + r. In the function, we simply open a file called run.py that will temporarily store the code that we get with get(start, end), and then we run this file with start cmd /K "python run.py". We do it this way, so a new command prompt window is opened. We want that the program runs separately from the current one.
# Execute the Programm
def execute(event=None):

    # Write the Content to the Temporary File
    with open('run.py', 'w', encoding='utf-8') as f:
        f.write(editArea.get('1.0', END))

    # Start the File in a new CMD Window
    os.system('start cmd /K "python run.py"')
Change and Find Pattern Function
Now for the changes() function that will handle the syntax highlighting. It is pretty similar to the changes() function from this article, with the key difference being that it edits the same text widget from which it gets the text.
In the function, we start by checking if the current content of the Text widget is the same as the previous text. This is done so it does not redraw unnecessarily:
# Register Changes made to the Editor Content
def changes(event=None):
    global previousText

    # If actually no changes have been made stop / return the function
    if editArea.get('1.0', END) == previousText:
        return
Then we loop over all used tags in the widget and remove them with tag_remove():
    # Remove all tags so they can be redrawn
    for tag in editArea.tag_names():
        editArea.tag_remove(tag, "1.0", "end")
Then we loop over the replacements and further loop over the return value of the search_re() function. We later go over this function. Then we add a tag at each position. We use the i variable to give all the tags a unique name:
    # Add tags where the search_re function found the pattern
    i = 0
    for pattern, color in repl:
        for start, end in search_re(pattern, editArea.get('1.0', END)):
            editArea.tag_add(f'{i}', start, end)
            editArea.tag_config(f'{i}', foreground=color)

            i+=1
Last but not least, we also save the current value of the widget to the previousText variable:
previousText = editArea.get('1.0', END)Now let us also go over the search_re() function. It will return all the positions of the pattern in a text. So we start with a list that will store those positions. Then loop over the lines of the text and over the finditer() result, then append each match start and end to the list in the same way positions are written in Tkinter Text widgets:
def search_re(pattern, text, groupid=0):
    matches = []

    text = text.splitlines()
    for i, line in enumerate(text):
        for match in re.finditer(pattern, line):

            matches.append(
                (f"{i + 1}.{match.start()}", f"{i + 1}.{match.end()}")
            )

    return matches
Showcase
Conclusion
Excellent! You have successfully created a Python Code Editor! See how you can add more features to this program, such as saving and opening .py files.
Learn also: How to Make a Rich Text Editor with Tkinter in Python.
Happy coding ♥
Loved the article? You'll love our Code Converter even more! It's your secret weapon for effortless coding. Give it a whirl!
View Full Code Create Code for Me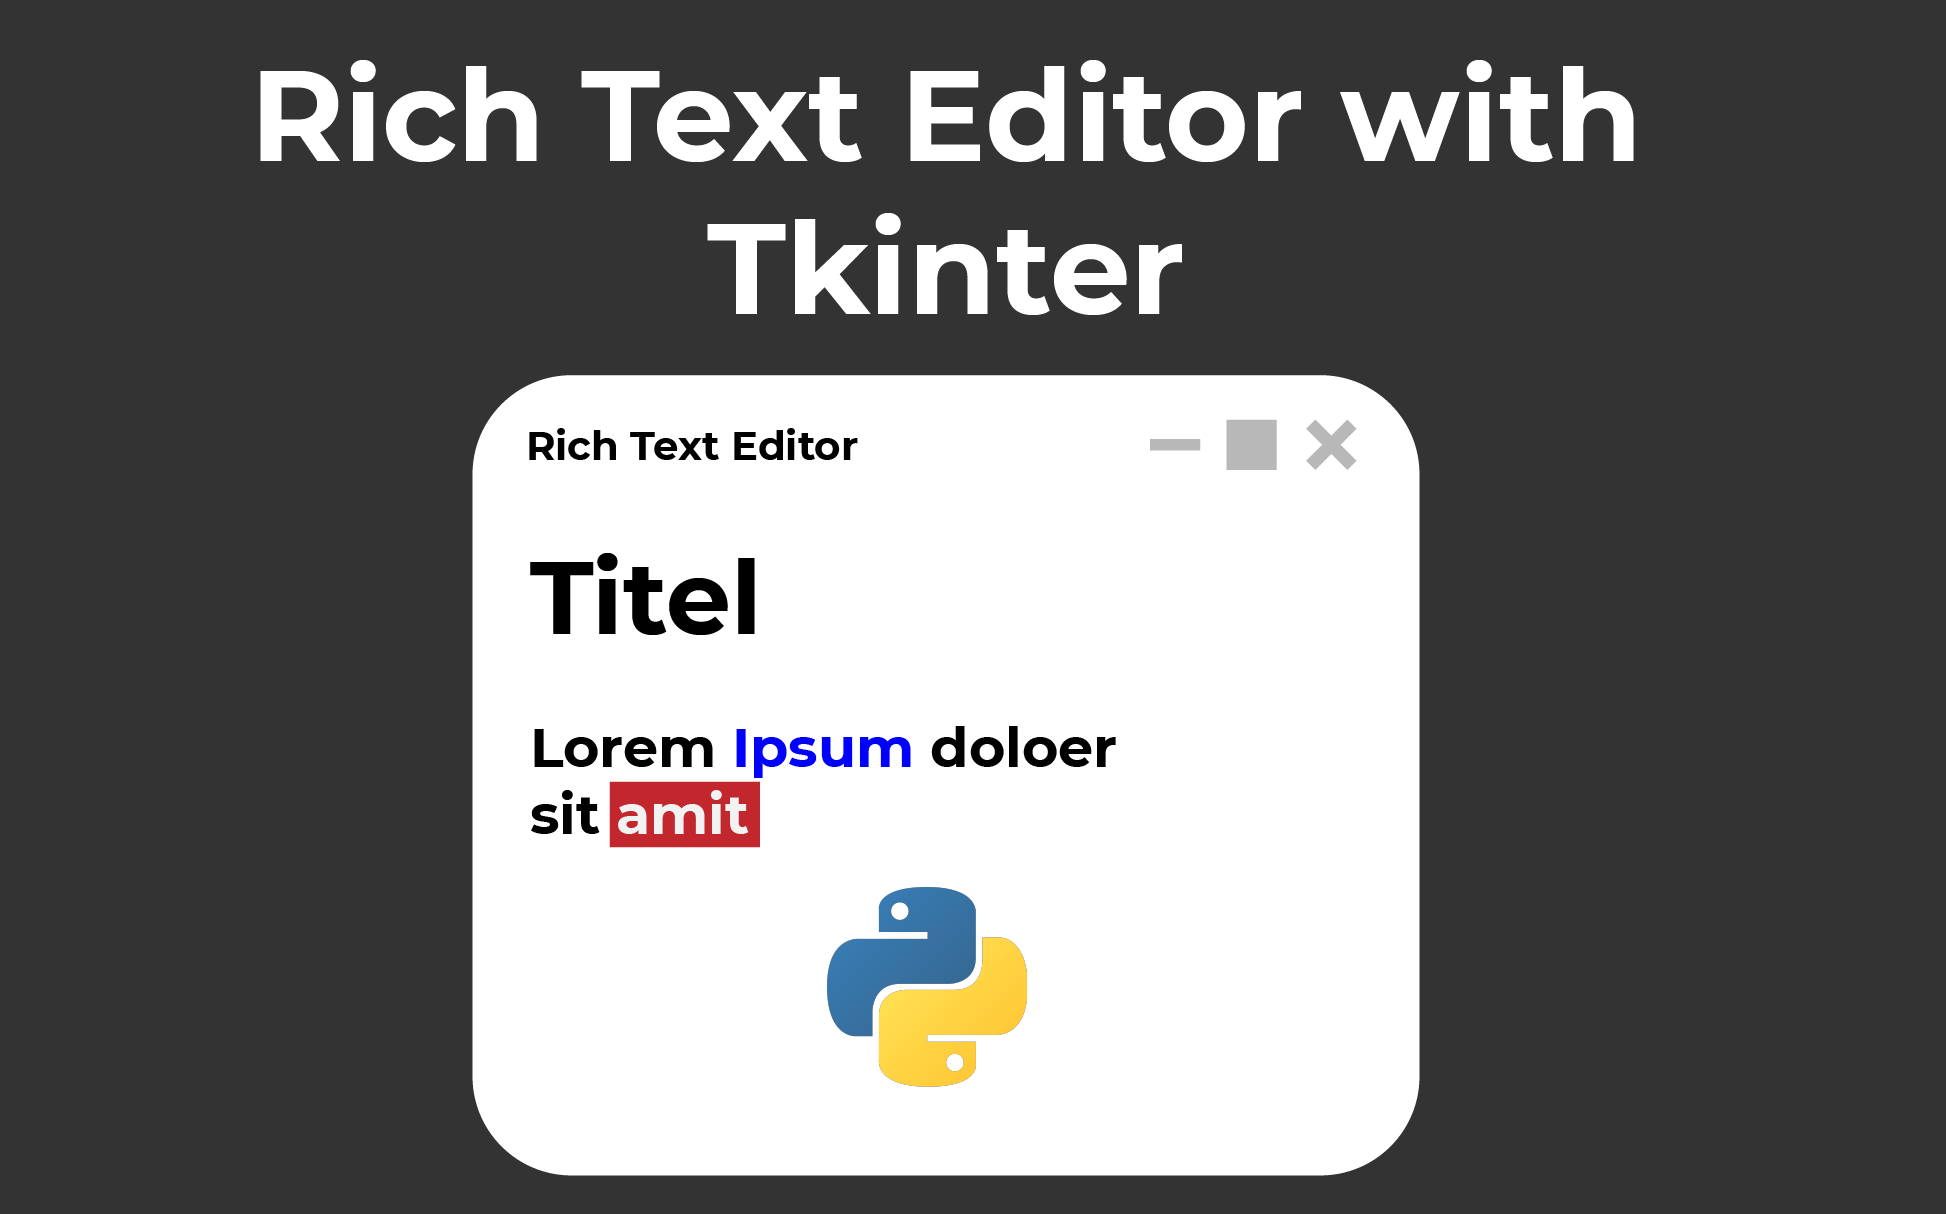


Got a coding query or need some guidance before you comment? Check out this Python Code Assistant for expert advice and handy tips. It's like having a coding tutor right in your fingertips!